


I belong to a textile art group in Cranwell, who I credit fondly for providing me with such artistic support and friendship that I was confident enough to apply for this MA in Creative Arts in the first place. I value very much the ability to work alongside others, twice monthly, to share ideas, work collectively on projects and to develop our skills and knowledge in textile art. Here I volunteered to provide a workshop in cyanotype printing, which I had become familiar with through my inductions and explorations in the print workshop at UoL.
Whilst my experience at UoL was in using the large scale equipment in the workshop, such as the exposure unit and the dark room. I researched ways in which I could work with cyanotype at home.
There are many home kits available online and as essentially I light exposure process, many people have success exposing prints in the sunlight. It is winter, adequate sunlight is limited, inclement weather prohibits leaving prints to expose outside for long, you can only work in the daytime.
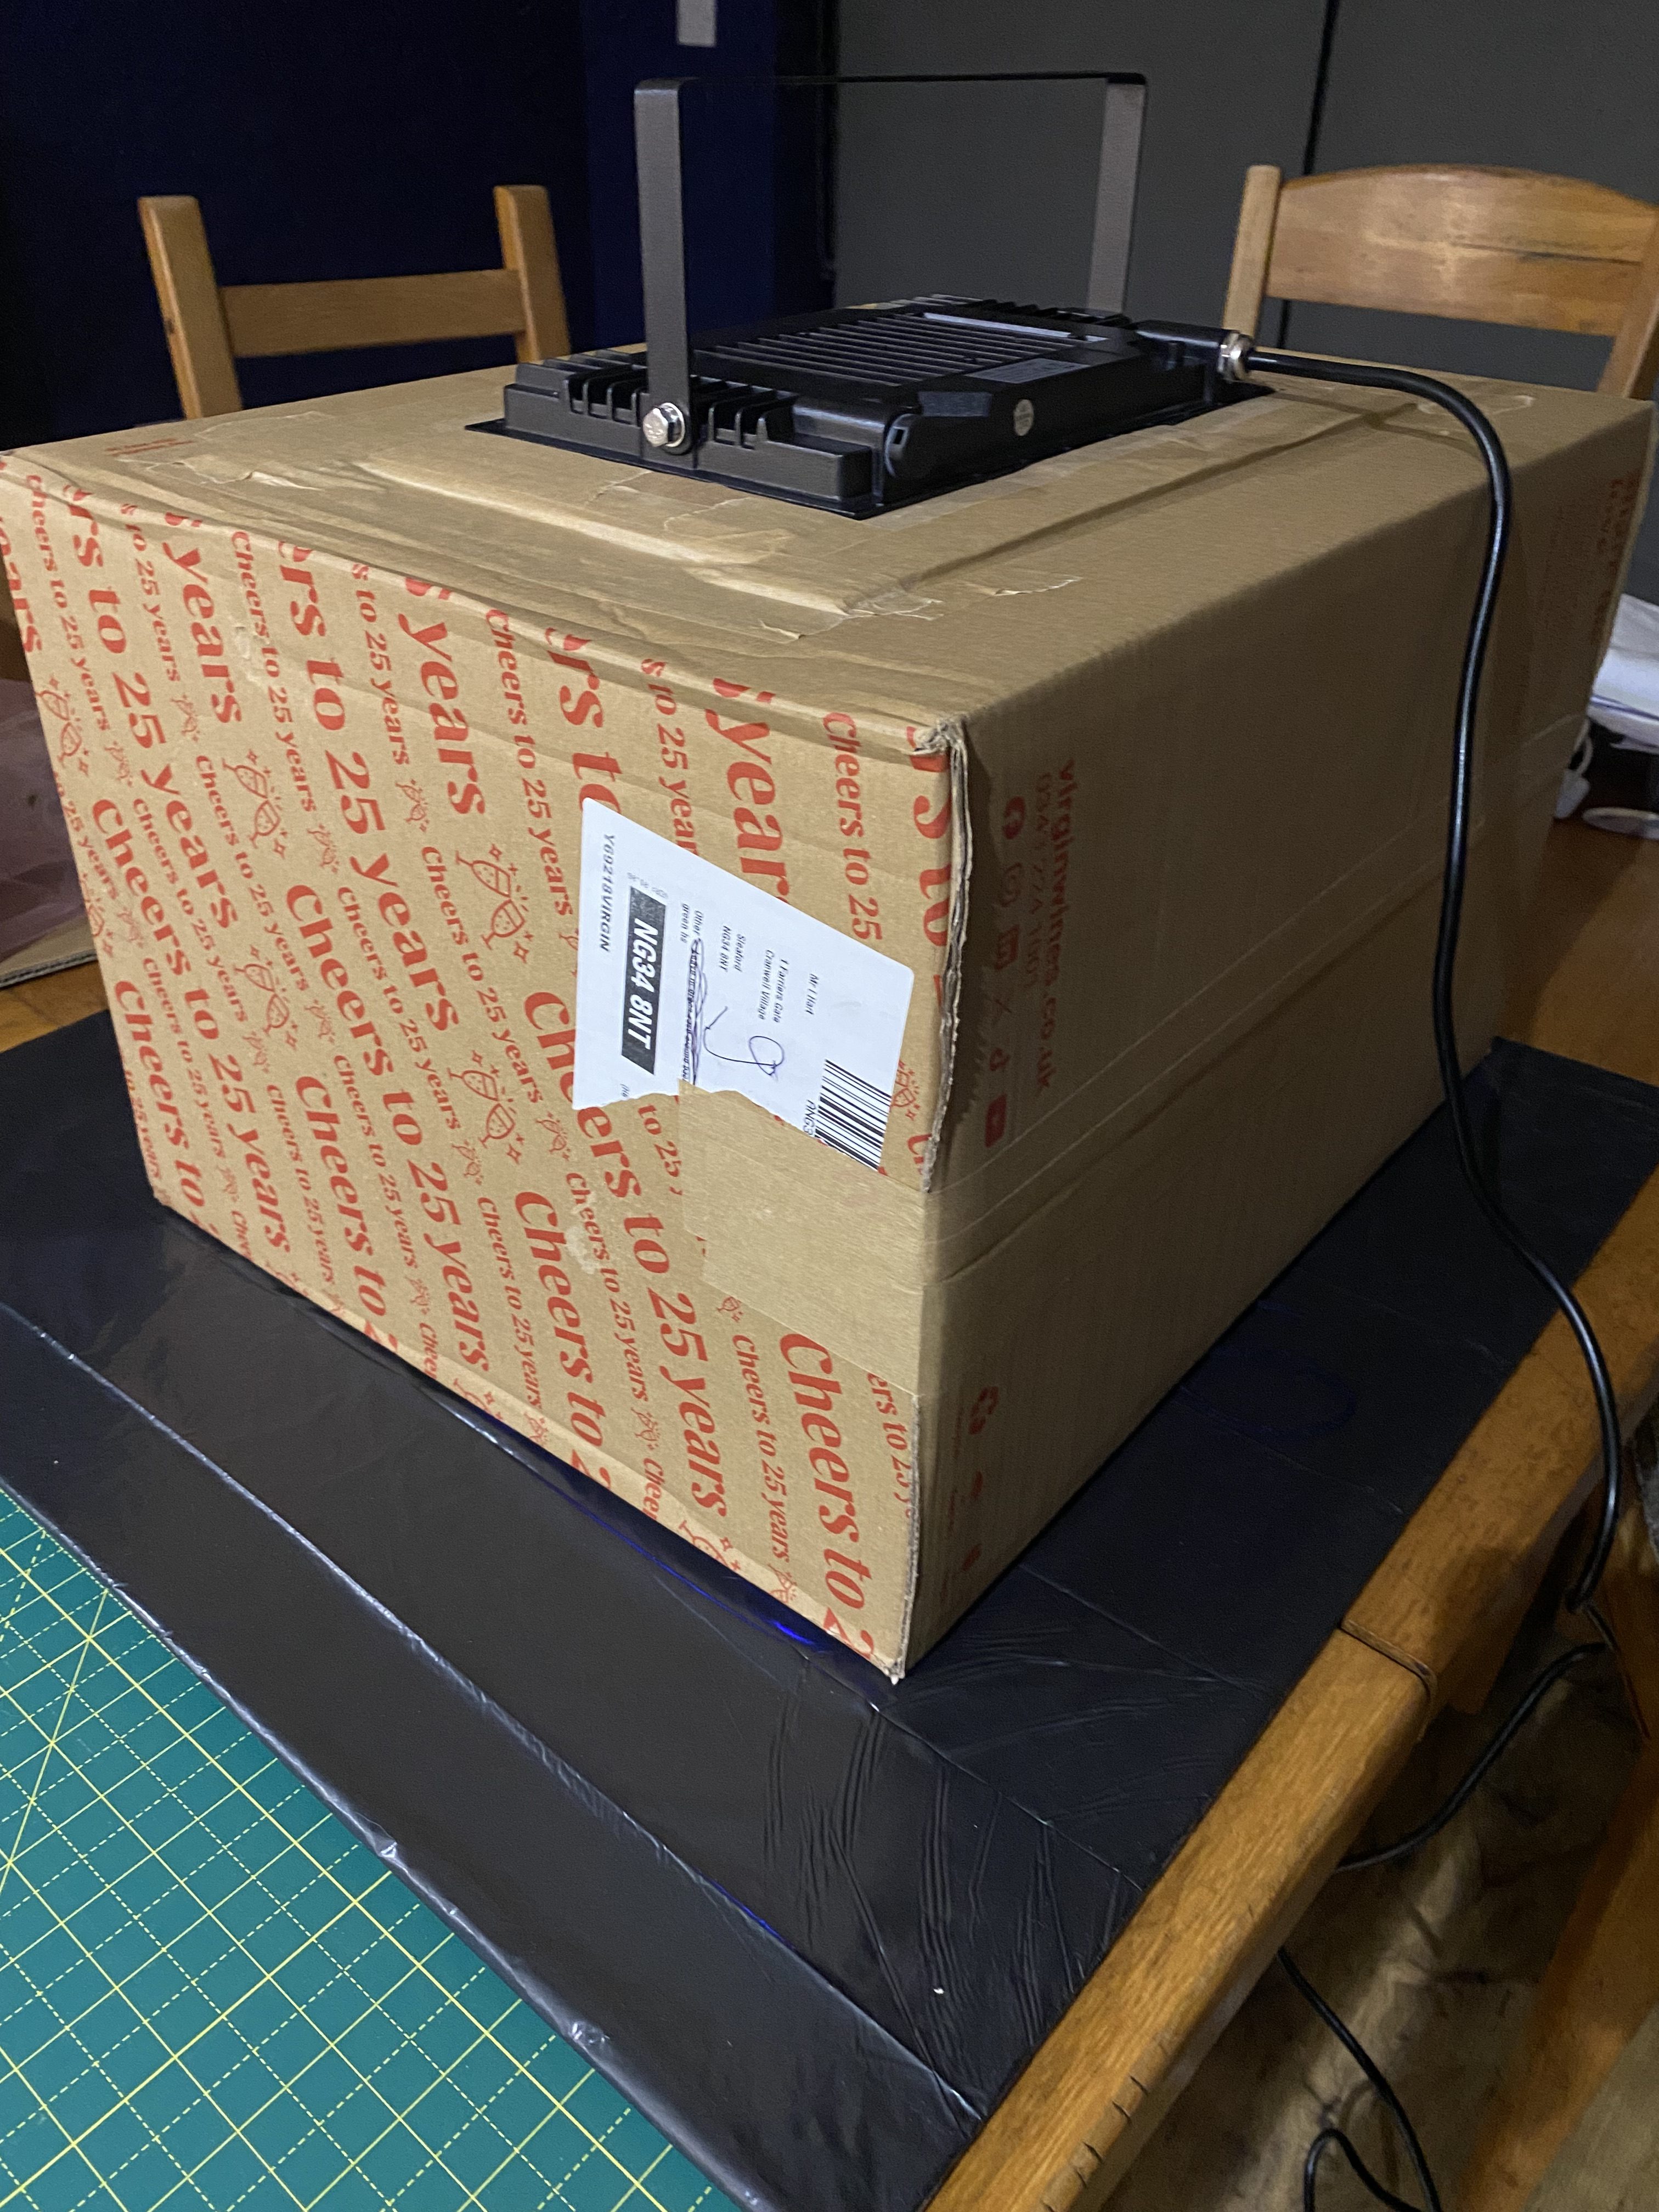
I solved this by implementing a technique used by many cyanotype artists and demonstrated similarly here by Adam Welch. I was able to order two lamps online, which for the purposes of having a group session, would alleviate wait times for exposing prints. The tinfoil lined boxes are essential for minimising light spillage while the lamps are on, for safety reasons, however the lamps I am using are sold and approved for domestic use as decorative UV lamps (e.g. halloween decorations) so should be relatively safe with sensible precautions. (Figures 2 & 5)
Again, as this was a workshop for up to 10 people, I wanted to ensure we had time to work on the fun and artistic part of the process, so decided to prep the fabric and paper ahead of time. This was particularly important for the fabric, as it uses more of the cyanotype solution and needs to dry full before the exposure stage. For this I used my downstairs toilet which has no natural light, a red-light setting on my torch, and a temporary table set-up to paint the solution onto the surfaces (Figure 1). I then stored them in a black box, before taking them to my airing cupboard (again no natural light) to hang them up to dry fully. Once dry they go back into the black box to make sure they remain unexposed before the workshop, which was the next day.
At the workshop I layed out different stations for each stage of the process:
station #1 – collect items to make your design and place them on the coated substrate. Cover this immediately with board to avoid exposure before getting to the next stage. (Figure 4)
station #2 – Exposure unit. Place the substrate, with chosen design items and a glass plate on top to flatten the layers gently, under the light in the box for 5 mins. (Figure 5)
station #3 – A selection of coldwater baths to progressively rinse the cyanotype solution from the print and expose the image fully. Water jugs and a dump bucket allowed me to keep the trays fresh as we went along. (Figure 3)
I created and provided a handout for participants explaining some basic facts and process.
I learned a lot about preparing for a workshop ahead, so that participants can get stuck in to the enjoyable part of the process. You can always expand to teaching more in-depth later, but this was always intended as a taster to demonstrate how this process might be implemented into their textile work.
This is a very water heavy process, and access to running water was essential for the smooth running of this workshop.
Lastly, I learned that we could prepare designs ahead and, as long as the items were not moved in between, it did not really matter that exposure began before each person’s turn on the lamp box. It is essential that the items are as flat as possible for crisp edges to the image, unless a blurred line is desired by the artist, of course.
Here are some of the work of participants of the workshop:


